上一篇《折腾记录:将wordpress搬家到腾讯云》讲到wordpress服务器搬家的坑,但是没有细说怎么安装,这一篇就记录一下怎么在centos上面安装使用wordpresss吧。以下的过程是基于centos6.7的,如软件安装有版本出入(ubuntu里面的apache是apache2,不是httpd),需要自行调整。
1.安装apache
在centos下,一般都使用yum来管理安装包,很方便。安装apache非常简单,输入以下命令即可:
yum install httpd

yum install httpd-devel
开启apache服务:
service httpd start
默认会显示如下提示:
Starting httpd: httpd: Could not reliably determine the server’s fully qualified domain name, using 127.0.0.1 for ServerName
此时需要去更改配置:
vim /etc/httpd/conf/httpd.conf
将#ServerName www.example.com:80改为ServerName localhost:80
保存,退出,重启apache服务
service httpd restart
最后再设置一个开机自动启动:
chkconfig httpd on
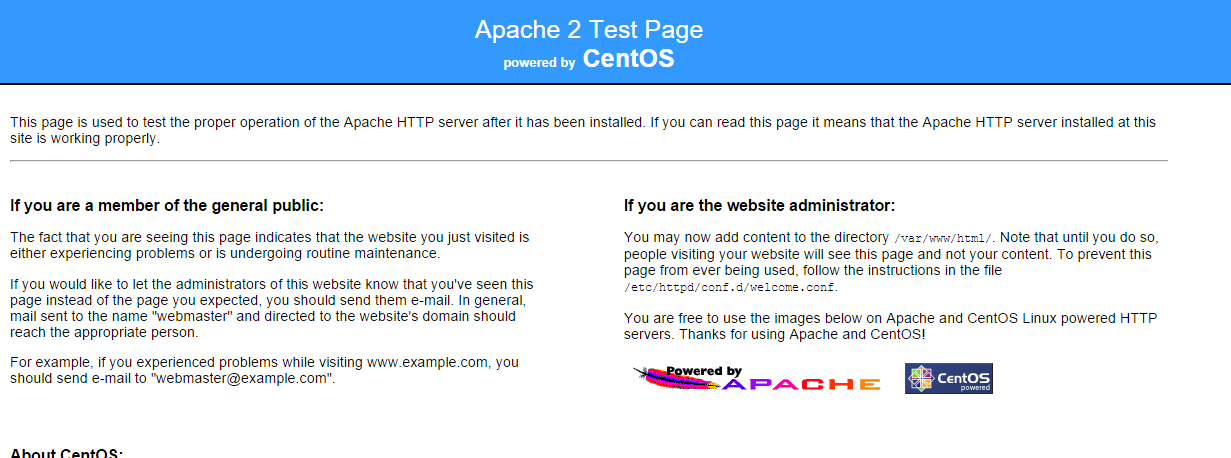
ok,在浏览器输入服务器的ip,显示如下页面即为安装成功:
2.安装mysql
输入命令安装mysql-server、mysql和mysql-devel:
yum install -y mysql-server mysql mysql-devel
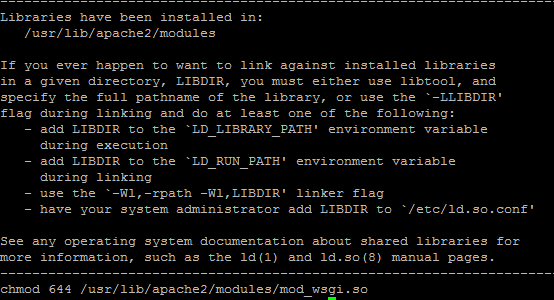
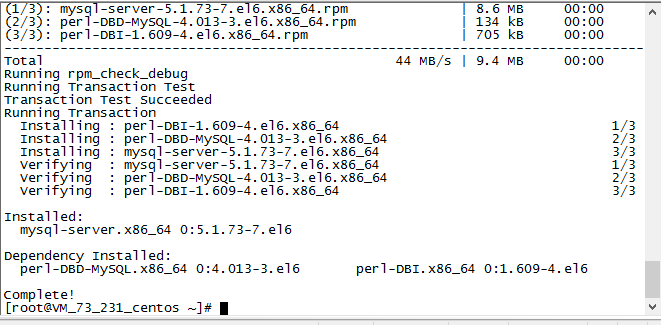
安装成功,如下图:
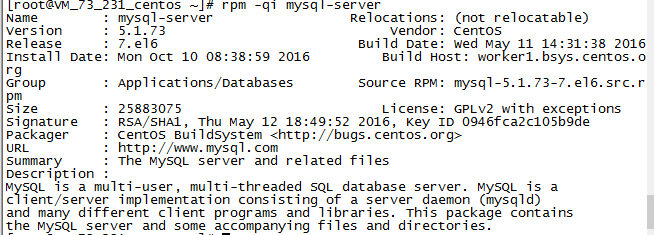
查看一下mysql的版本:
rpm -qi mysql-server
启动mysql服务:
service mysqld start
设置mysql的超级管理员root的密码,引号不要删,引号内为你的密码:
/usr/bin/mysqladmin -u root password 'new-password'
或者在mysql登陆状态下,输入:
use mysql;

update user set password=password('密码') where user='root';

flush privileges;
设置mysql开机启动:
chkconfig mysqld on
如果你还需要在远程的软件操作mysql,那就要开启远程操作权限,在mysql命令行下,输入:
grant all privileges on *.* to 'root'@'%' identified by '密码' with grant option;

flush privileges;
3.安装php
输入命令:
yum install php

安装php-mysql:
yum install php-mysql
安装常用的php组件:
yum install php-gd php-imap php-ldap php-odbc php-pear php-xml php-xmlrpc

重启apache:
service httpd restart
搞定。
4.安装配置wordpress
4.1创建wordpress数据库
先创建一个数据库,用来存放wordpress的数据。可以在navicat-for-mysql里面创建,也可以在登陆mysql之后,用命令行创建(指定utf-8字符集):
CREATE DATABASE `wordpress` DEFAULT CHARACTER SET utf8 COLLATE utf8_general_ci;
创建个专门的用户管理这个数据库(username和password改为你要的用户名和密码):
CREATE USER 'username'@'localhost' IDENTIFIED BY 'password';
将wordpress数据库的所有管理权限交给这个用户:
GRANT ALL ON wordpress.* TO ‘username’@’localhost’;
ok
4.2下载、安装、配置wordpress以及数据库
下载wordpress,可以去官网下载,然后上传到服务器,也可以直接用命令下载,我这里用命令下载(以下是英文版,中文版的话将url改成https://cn.wordpress.org/latest-zh_CN.tar.gz):
wget http://wordpress.org/latest.tar.gz --no-check-certificate
解压到指定的目录下:
tar -zvxf latest.tar.gz -C /website/wp-test
cd进入解压后的文件目录,将wp-config-sample.php复制、重命名为wp-config.php:
cp wp-config-sample.php wp-config.php
修改wp-config.php:
vim wp-config.php
更改数据库的相关设置,更改红色字体处为你自己的数据库设置:
/** 数据库名 */
define(‘DB_NAME’, ‘wordpress‘);
/** mysql用户名 */
define(‘DB_USER’, ‘username‘);
/** 该用户对应的密码 */
define(‘DB_PASSWORD’, ‘password‘);
/** 主机名,默认无需修改 */
define(‘DB_HOST’, ‘localhost’);
/** 字符集 */
define(‘DB_CHARSET’, ‘utf8‘);
/** The Database Collate type. Don’t change this if in doubt. */
define(‘DB_COLLATE’, ”);
4.3apache虚拟主机设置
新建一个虚拟主机配置:
vim /etc/httpd/conf.d/virtual.conf
输入以下配置,记得要先将域名解析到主机的ip地址来:
##wordpress目录
DocumentRoot /website/wp-test/wordpress
ServerName lookfor404.com #你的域名
ServerAlias www.lookfor404.com #域名别名
#开启rewrite功能
<Directory “/website/wp-test/wordpress”>
AllowOverride ALL
Order allow,deny
Allow from all
以上配置完成,访问域名,即可开始安装过程。
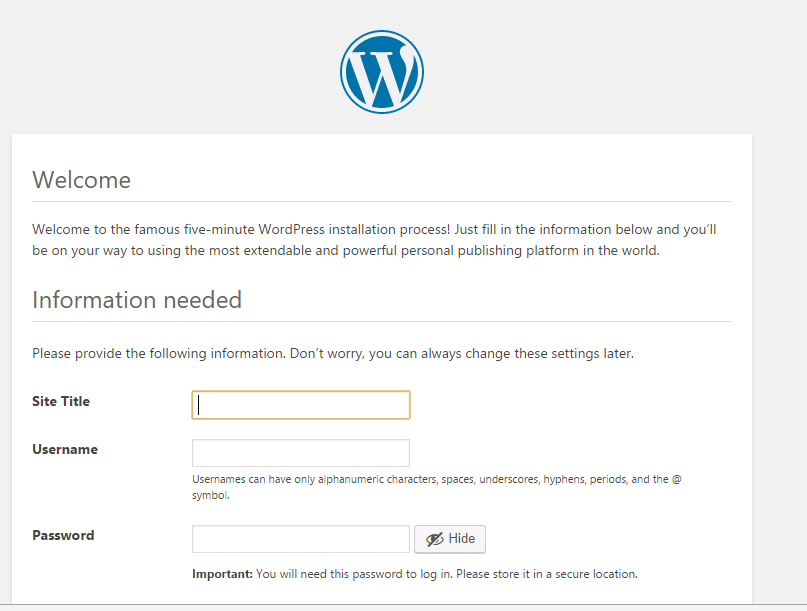
设置一下账号密码,就可以开启wordpress了。
